I used to make these for Easter when I was a kid. They’re easy to make and are great fun to do as a family. All you need are some eggs, glue, crayons or colored pencils and construction paper (or other sturdy paper).
You can download the pattern I made for the ears, arms and feet:
EasterBunnyEggs-Pattern_SherriGoodman-com.pdf
Follow the steps below to create your own!
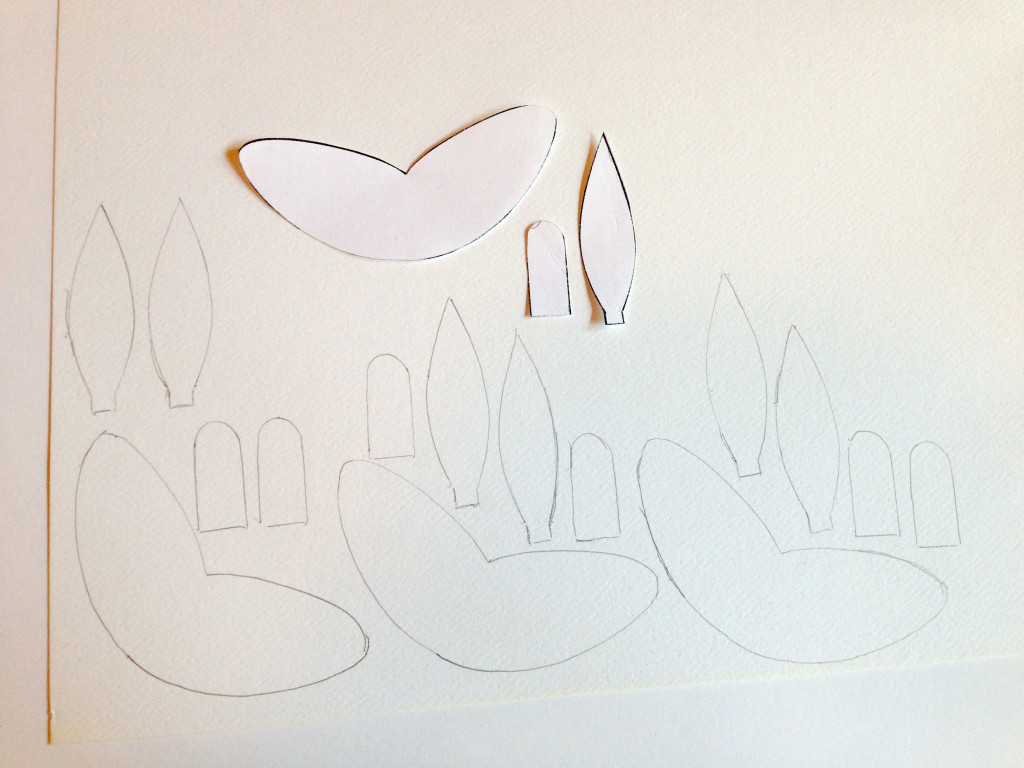
Cut out the pattern. You only need one of each part – one ear, one arm, and one pair of feet. Then trace around the pattern on your paper of choice. I’m using a medium weight water color paper here.

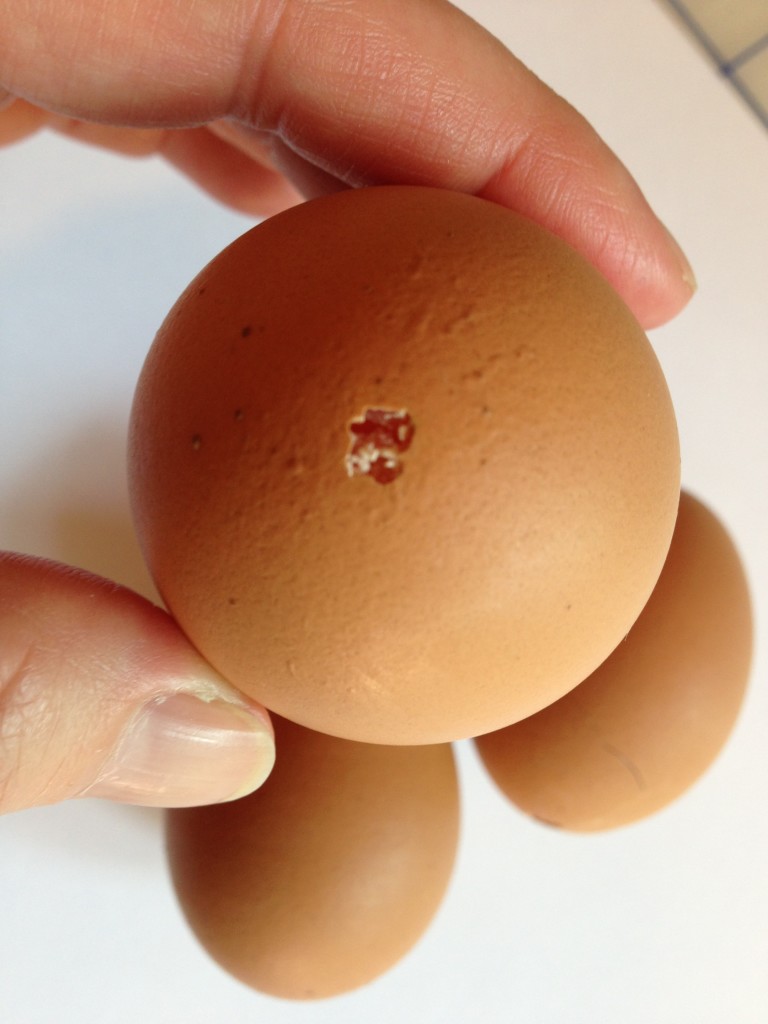
Next, you’ll need to blow out the egg whites and yoke out of the shell without breaking the shell. To do this, poke a hole in the top and bottom of the egg. Use a pin or thin nail to stab and stir up the inside contents so that it’s easier to blow out of the egg shell. Blow through the hole and the egg contents will come out the other side – into a bowl. And when you’re done – you can make scrambled eggs! Or pancakes!! 😉
It doesn’t matter if you use white or brown eggs. Actually a variety of multi-colored eggs would be great. If you have your own chickens who lay blue or speckled eggs – all the better.
Next you’ll need to cut out your ears, arms and feet and then color them. I used water color pencils, but you can easily use crayons which work great. I also used a marker to add lines on the feet and hands for bunny nails.
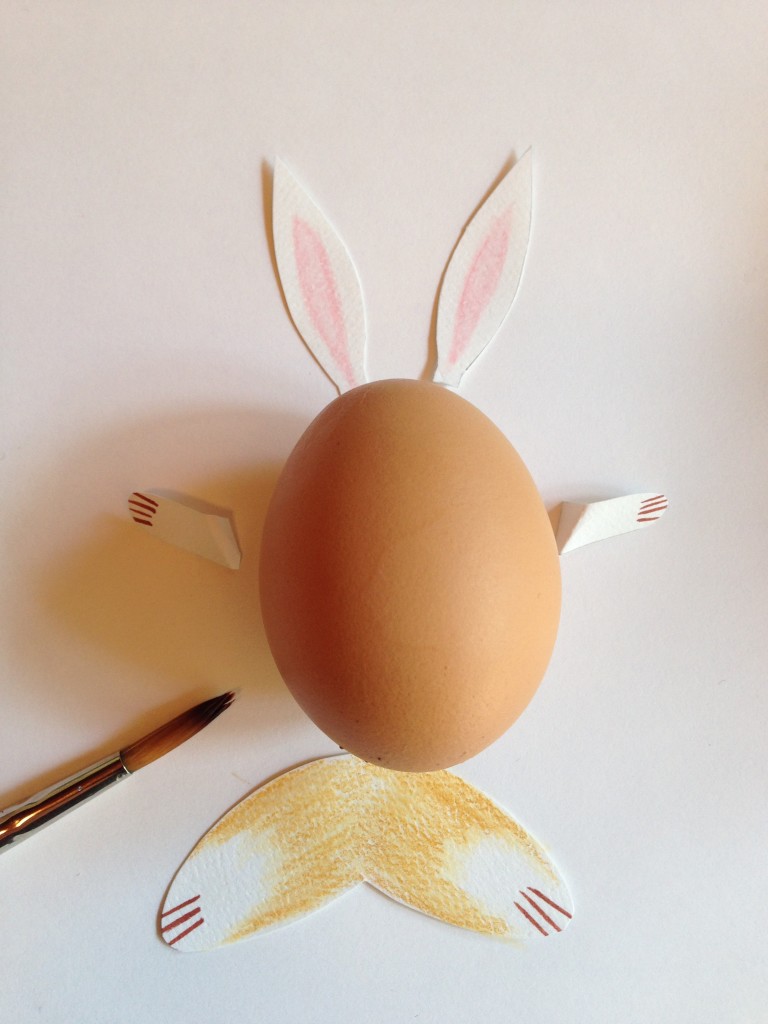
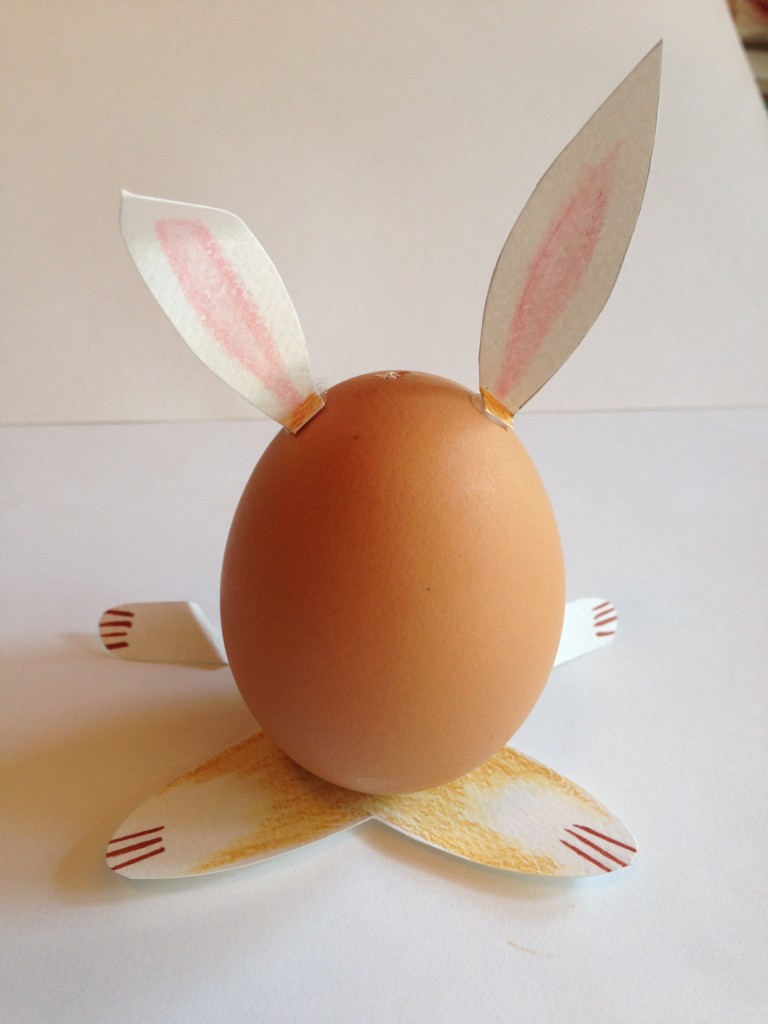
Next you can glue the ears, arms and feet to the egg. I start with the feet so the rabbit can stand up and I can see it come to life. I use hot glue for a fast adhesion – but regular white glue works great too…you just have to wait a little longer for the glue to dry.

With the arms and ears, you’ll want to fold a tab on the part that glues to the egg.
You can draw on the face with a marker, like a Sharpie marker. I also tried a Pentel marker with a brush tip. I used my watercolor pencil for shading the tummy and cheeks.
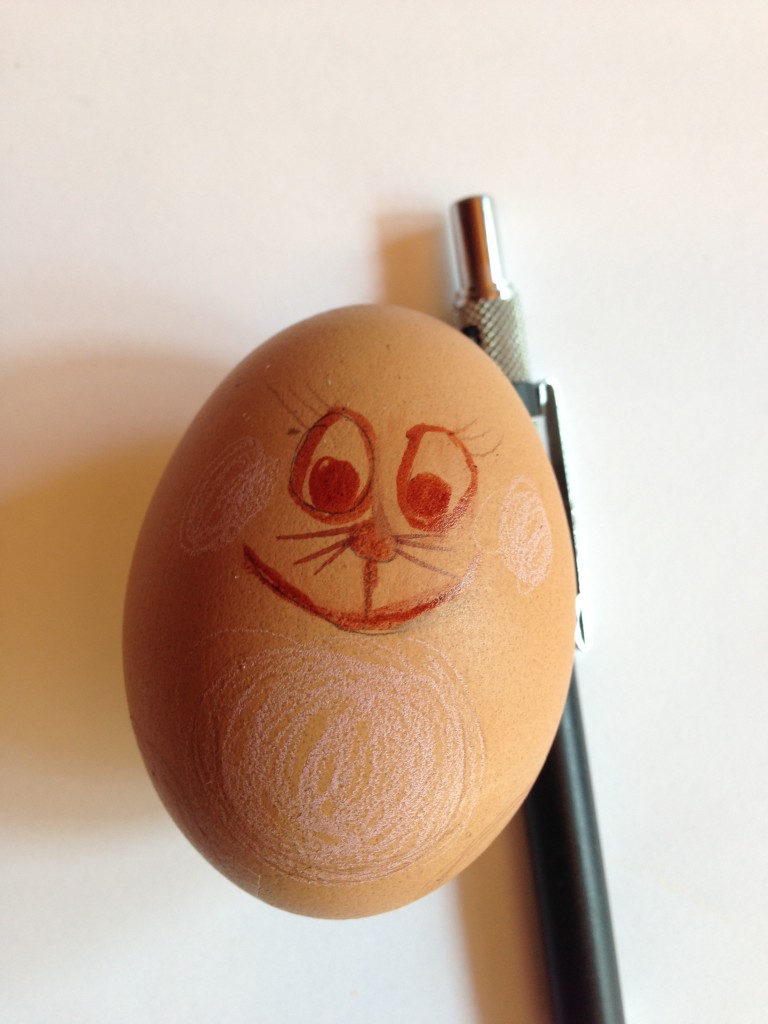
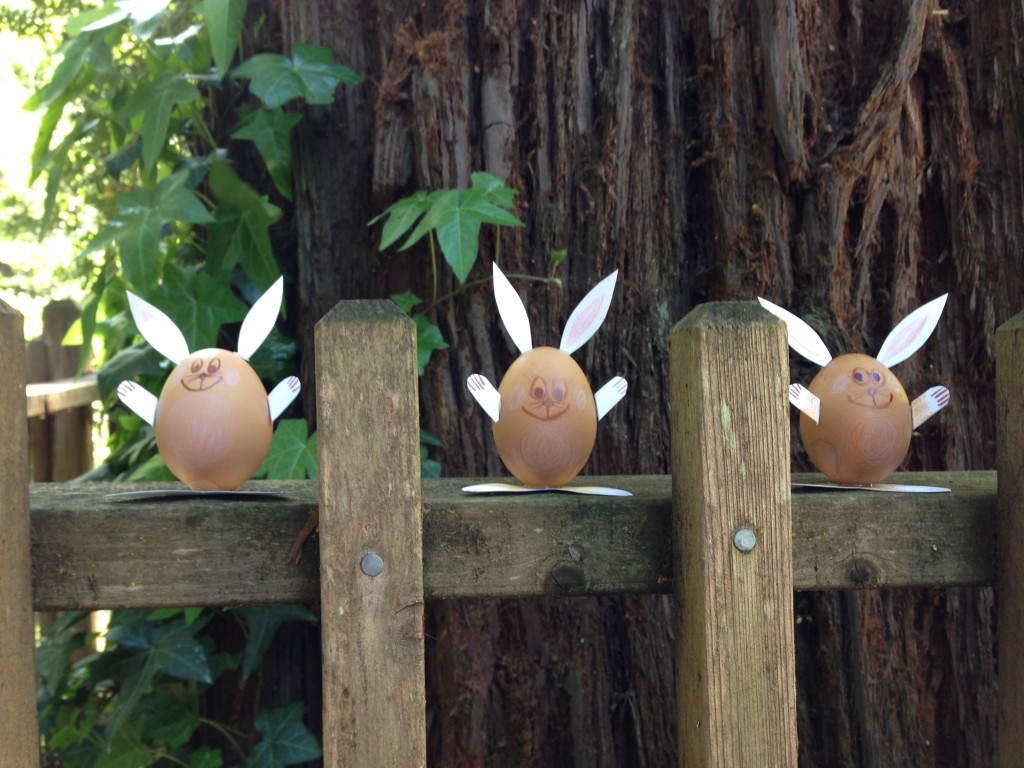
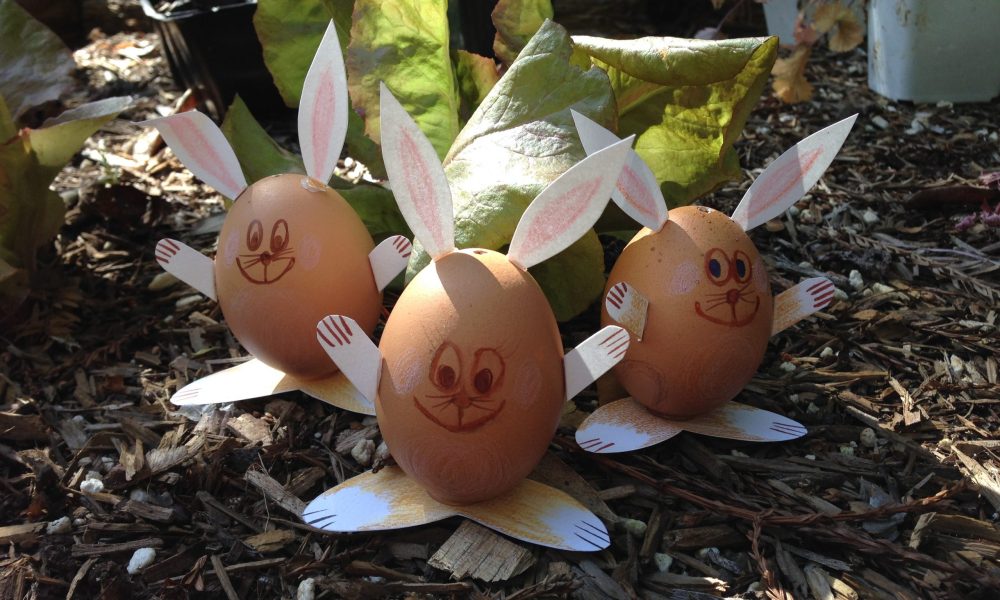
And each Egg Bunny gets its own personality…